


Frames for prototypes
Especial at manual printing different stencil sizes are often in use. Additional there are small stencils only few millimeters larger than the stencils. With the help of frames for prototypes the stencils are professionally tensioned and coated. FRITSCH offers hand-squeegees in different sizes (> 250 mm) for the usual manufacturing.

Universal 2-sided stencil frame
The need to work with stancils in different sizes increases more and more. The universal 2-sided stencil frame is especially constructed for the use of different sizes. Therefore a maximum size of stencils up to 380 x 280 mm is possible.

Flexible vacuum-option
To guarantee a clean and trouble-free handling of small or flexural PCBs FRITSCH offers the flexible vacuum option with free-positionable suction cups.
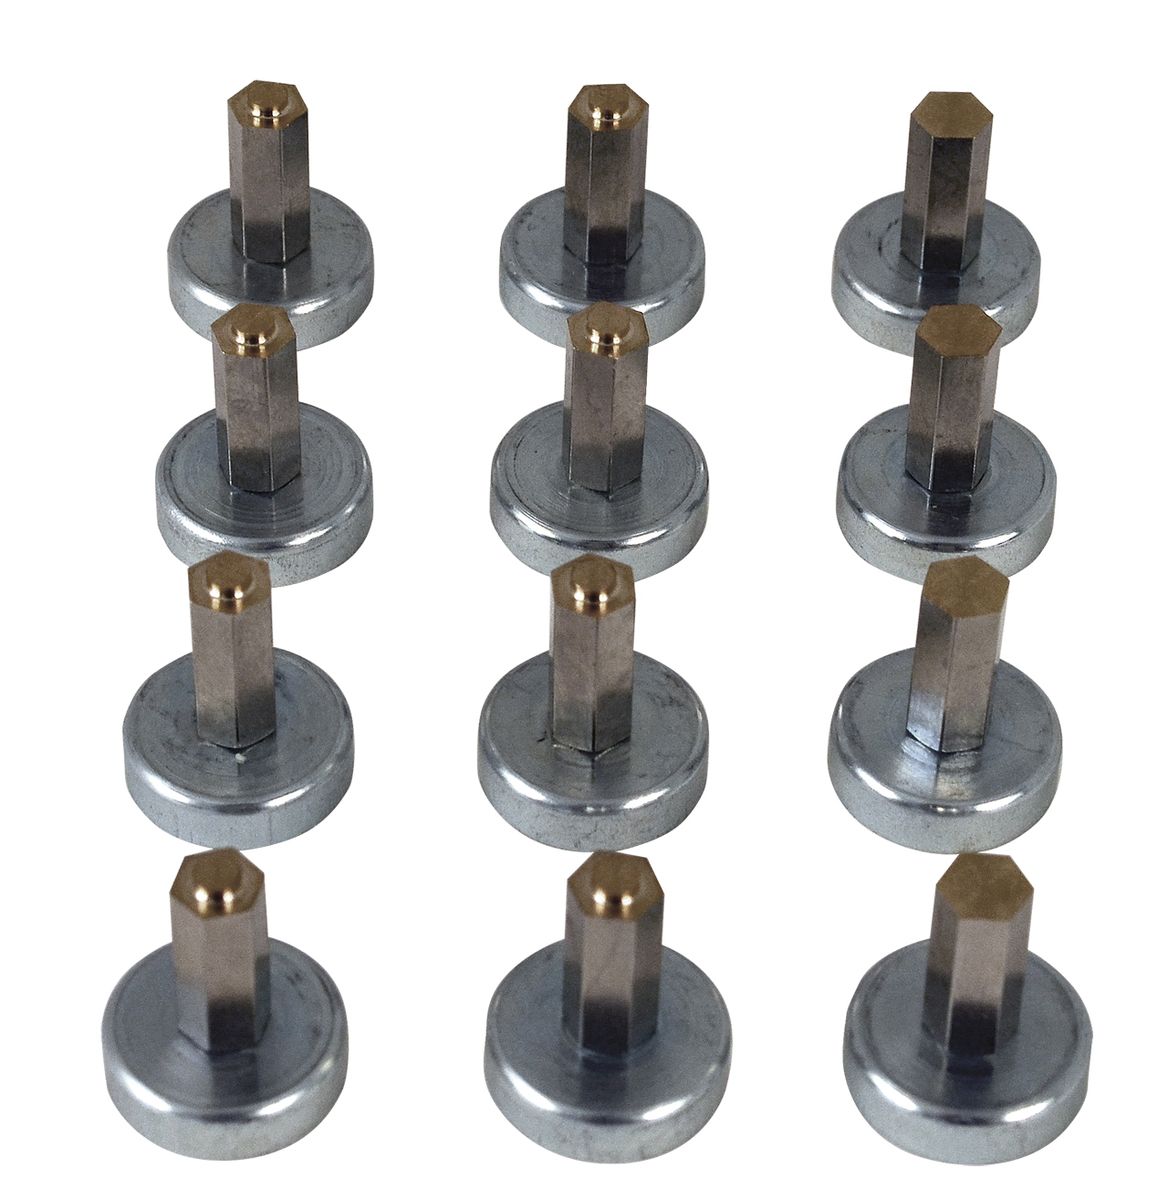
Magnet-PCB-fixture-set
The Magnet-PCB-fixture-set fixes and supports the PCBs and enables the double-sided printing.

PCB positioning aid
FRITSCH offers the test foil to make it easier to roughly set up the circuit board. This is attached to the circuit board with two magnetic holders with pegs. Then the printer is closed with the stencil and two or more points are set through the print frame with a fine marker. Ideally diagonally from bottom left to top right or vice versa. With the help of the points it is now easy to determine the position of the circuit board.

Squeegee guide
In order to ensure a constant squeegee angle (60°), the universal stencil clamping frame can be equipped with an optional squeegee guide. This feature makes it easier to apply the paste and is available with three squeegees in different widths.

Laserpointer
When changing products and inserting the circuit board for the first time, it is sometimes not easy to immediately determine the exact position of the stencil to the circuit board. As an alternative to the circuit board positioning aid, there is now a new laser pointer option. With the laser you aim at a clear point on the stencil, which you can easily find on the circuit board. Then you lift the stencil frame and simply push the circuit board to the point of the laser pointer. The fine alignment is then carried out as usual using the XY knobs.